
STEP 1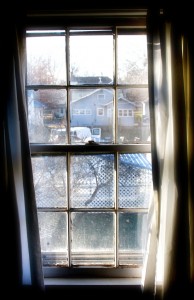
The first thing you need to do is prepare the window in which you plan to install your solar heater. Ideally, you’ll want a south or west facing window that gets plenty of sunlight throughout the day.
In addition, it’s nice if this is a Low-E window with strong insulation values. Otherwise your heater will continue to heat your home with the window closed on warm days. If you decide to use this on a drafty old window, you’ll probably want to design it to be easily removable for the summer months.
Most homeowners will try to strike a balance between a window with great sun exposure and one that’s not clearly visible from the street for aesthetic reasons.
Take careful measurements. Remove the screen from the window that you plan to use. If you fail to do this, the screen will melt from the heat. That’s right; you’ll be able to generate enough heat to actually melt a screen.
Step 2
Next, you’ll need to gather some supplies. You’ll need plywood and a bit of dimensional lumber to construct you basic frame, plus four greenhouse panels.
The end result is a semi-transparent cube with a plywood bottom. The three sides and the top are made from greenhouse panels.
Take a little time to ensure that your box is well constructed and will hold up against the wind. We recommend using screws instead of nails for this reason.
STEP 3
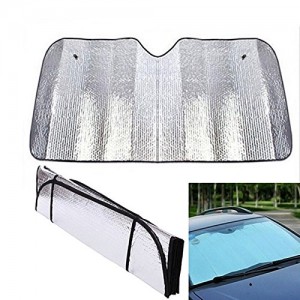
Locate a quality auto shade with a reflective surface on at least one side. Leave at least one reflective side as it is.
On the other side, spray paint the shade black. This will be placed on the bottom of your cube.
Use the black side for the solar heater application. When you want to convert the cube into a solar oven instead, flip the car shade to the reflective side.
NOTE: Make sure you cut the shade to the appropriate size.
STEP 4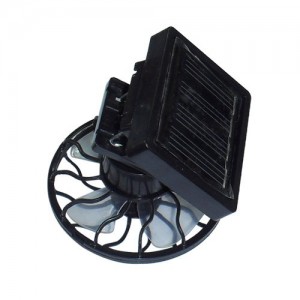
Acquire at least three miniature solar fans. You can find these available online in several places, Amazon being one.
The fans designed to clip onto the bill of a ball cap are the easiest to install and work with for this design.
Once installed, these fans will be used to push the hot air from the inside of the solar heater to the room you’re trying to heat up.
Solar Oven

For cooking, flip the car shade over with the reflective side up. You’ll also want to use a black pot to concentrate the heat and get the temperatures you need to cook virtually anything to perfection.
You will need to create support legs for the solar heater/solar oven. The size of these will depend on where you’re placing the cube. The image above shows what the unit looks like when it’s built.
As you can see, the construction is very simple and can be accomplished by anyone who has the necessary supplies and a basic understanding of tools.
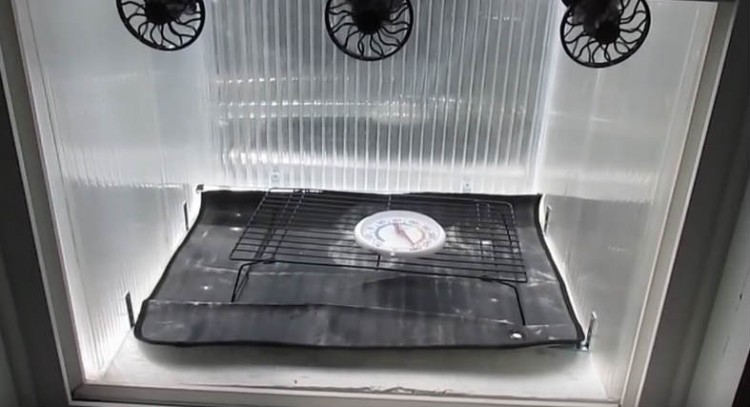
You’re probably asking yourself, “how well does this really work?” In the tests shown in the YouTube video, the solar heater construction got up to 140 degrees Fahrenheit. The solar oven configuration created a temperature of 180 degrees. At this temperature, the water inside a black tea kettle reached 158 degrees. The solar oven was also able to cook perfect hard-boiled eggs without needing any water. Instant white rice cooked in 45 minutes, and a lentil stew cooked for five hours and reached an internal temperature of 165 degrees.
In other words, this thing really works! In fact, it works best as a solar oven, but with the solar fans attached, you can definitely warm up a room as well. This is an easy DIY option for going off grid or maintaining heat and the ability to cook during a power outage.