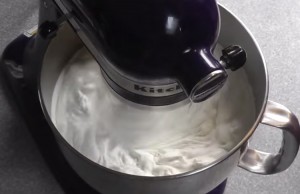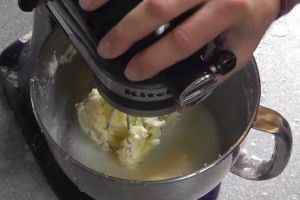
5. Once you’ve whipped the cream for about 10-15 minutes, it will separate into butter and buttermilk. Taste some of the mixture. If it tastes like butter, you’re done, but if it still tastes like cream, keep whipping.

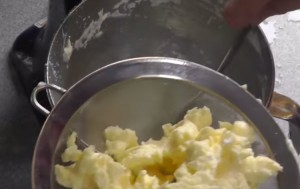
6. Once whipping is complete, separate the butter from the buttermilk using a spoon or spatula.

7. Transfer the butter to a small bowl, and run cold water over it until the water runs clean. Use a spatula or large kitchen spoon to press the butter and remove air pockets. If all the buttermilk is not removed, the batch will spoil in a couple of days.
Note: you can also whip and rinse the butter in a blender at this stage to remove the buttermilk.
8. Salt or season to taste.
Presto! You now have some creamy, additive-free homemade butter to share with your family and dinner guests. Wrap the butter in some plastic wrap or place it in a container. Keep any buttermilk and butter you prepared refrigerated.
Next: DIY Butter: The Power-Free Method
Image credits: Grow Your Heirlooms-How to Make Your Own Homemade Butter via youtube.
